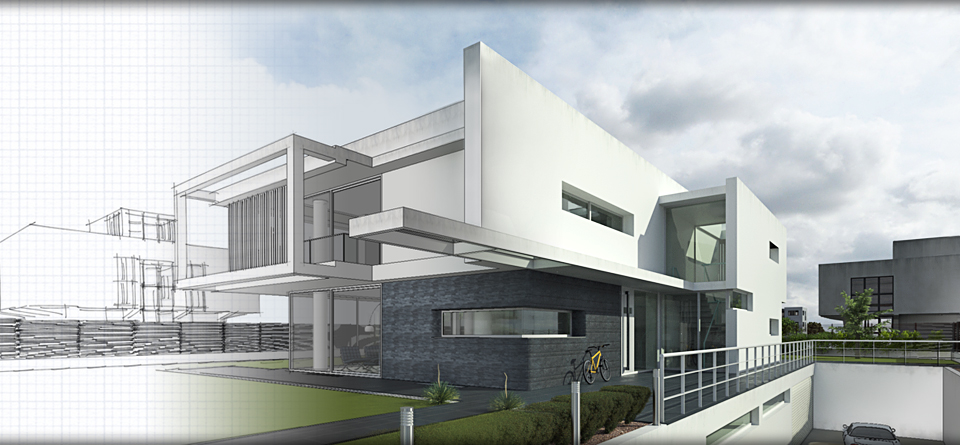
David Hier Render Studio: 3D Modelling & Rendering and Architectural & Product Visualisation

">Part 3 - Reflectance, Bump, Displacement Maps
I'll now go over the process of creating reflection, bump, displacement and normal maps for use with Thea Render and other 3D rendering software packages.
When creating these textures I personally prefer to use an application such as Shadermap, Pixplant or Crazy Bump, as you can change textures on the fly and preview how they will appear in your rendering application. You can however achieve perfectly acceptable results using image editing software like Photoshop.
Reflectance Maps
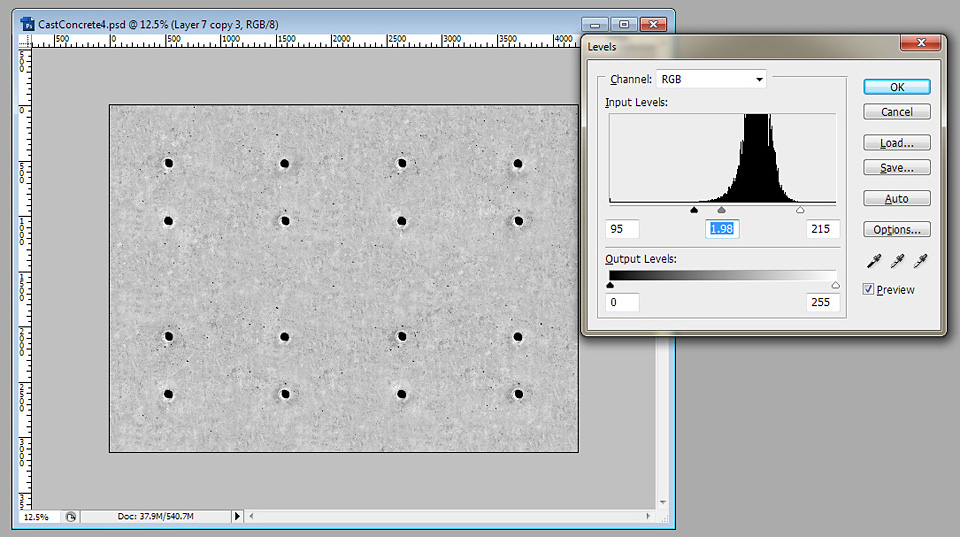
For the reflectance map you start by desaturating your seamless texture (Shift + Ctrl + U) and then use levels to exaggerate the contrast in the dark range.

Bump Maps
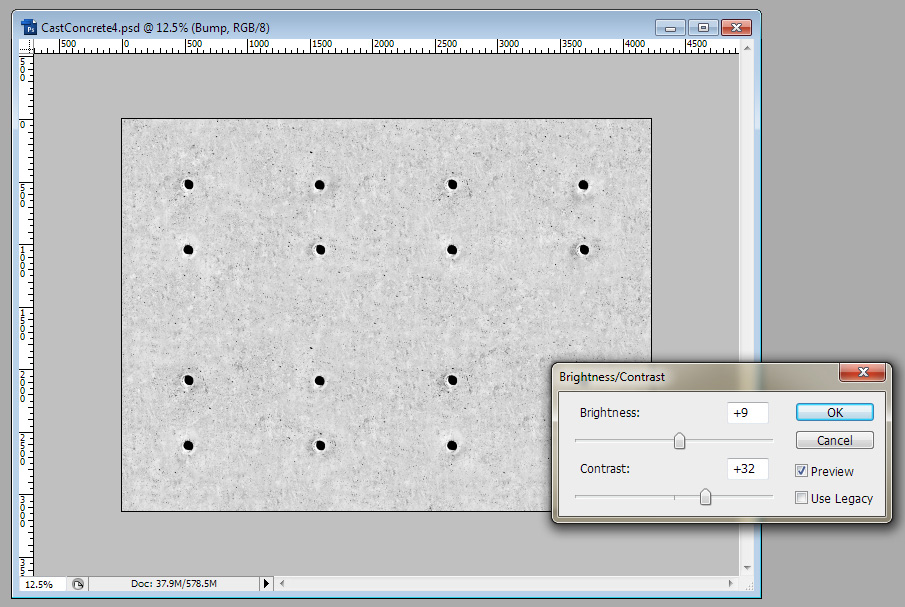
For bump use the same technique, but shift the tones towards the lighter range.
If you don't want a lot detail then you can exaggerate the light tones even further with some added contrast.
Displacement Maps
You can use your bump texture as the basis for a displacement map. Go to Image>Adjustment>Threshold. Adjust the slider until all you can see are nice clean casting holes. Bear in mind that the white areas will be displaced and the black areas will be recessed.
You don't want to displace all the fine detail, so use the marquee tool to block fill everything but the holes and then use a small soft brush to paint out the remaining detail surrounding the holes.
Finally soften the edges with a little Gaussian blur (Filter>Blur>Gaussian blur).
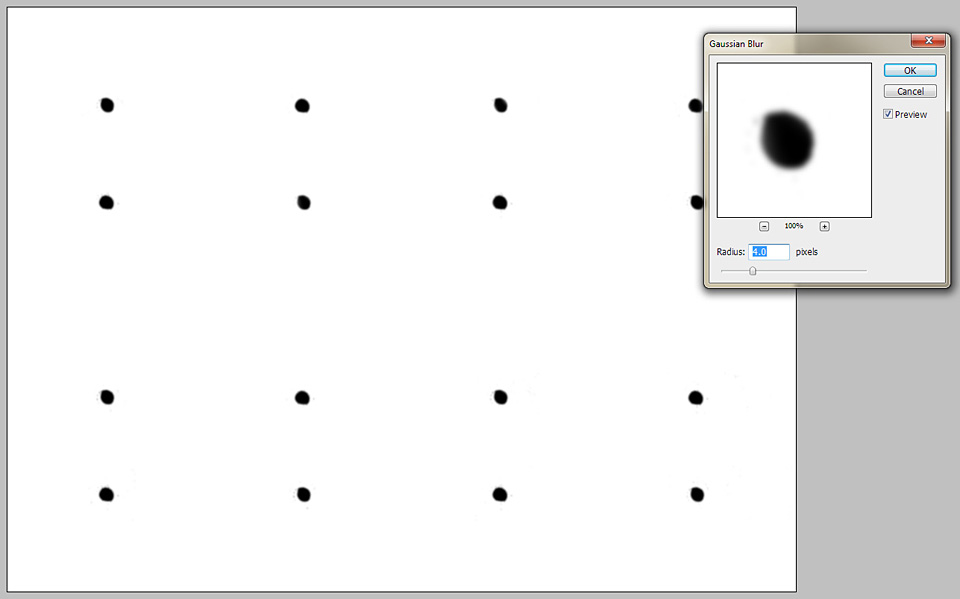
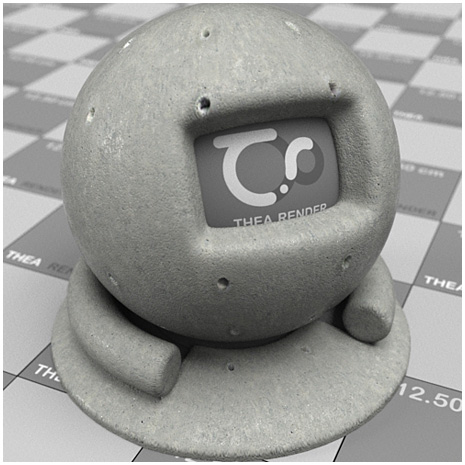
When it comes to applying the displacement map to your Thea material, you may find that the displacement is a bit rough around the edges (see below).
To get a cleaner look use the circular marquee tool to create precise circles on a new layer and line them up with those in the original texture. Fill the base layer with white and flatten. Finally add a slight Gaussian blur as before.
The results should be more precise and much cleaner.
Normal Map
You can create normal maps from scratch in Photoshop, but it's frankly a lot easier to use a plug in. There is a basic plug in by Nvidia, bit if you want more control then nDo works very well.
Whichever plug in you use, you can use the bump texture created above as the basis for your normal map.
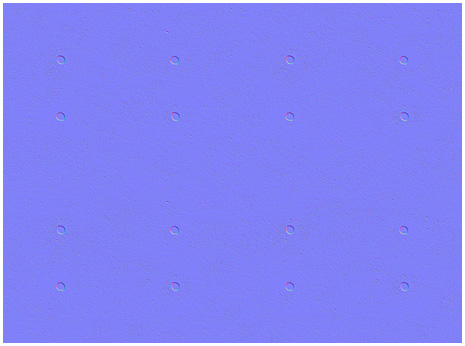
I find that it's best to overdo things a little so you have a wider range of texture options when you create your material. You can easily dial back the amount of texture a highly detailed normal map creates in your render application, but you can't add texture to a normal map that lacks definition.
- « Previous
- 1
- 2
- 3
- 4
- Next »