David Hier Render Studio: 3D Modelling & Rendering and Architectural & Product Visualisation

How to Create a Seamless Concrete Texture
& Thea Render Material
by David Hier
 This tutorial shows you how to create a seameless concrete texture, which can be used in most 3D modelling and rendering applications. The tutorial then goes on to show you how you can combine the concrete texture with other textures to create a layered weathered material for for use with Thea Render.
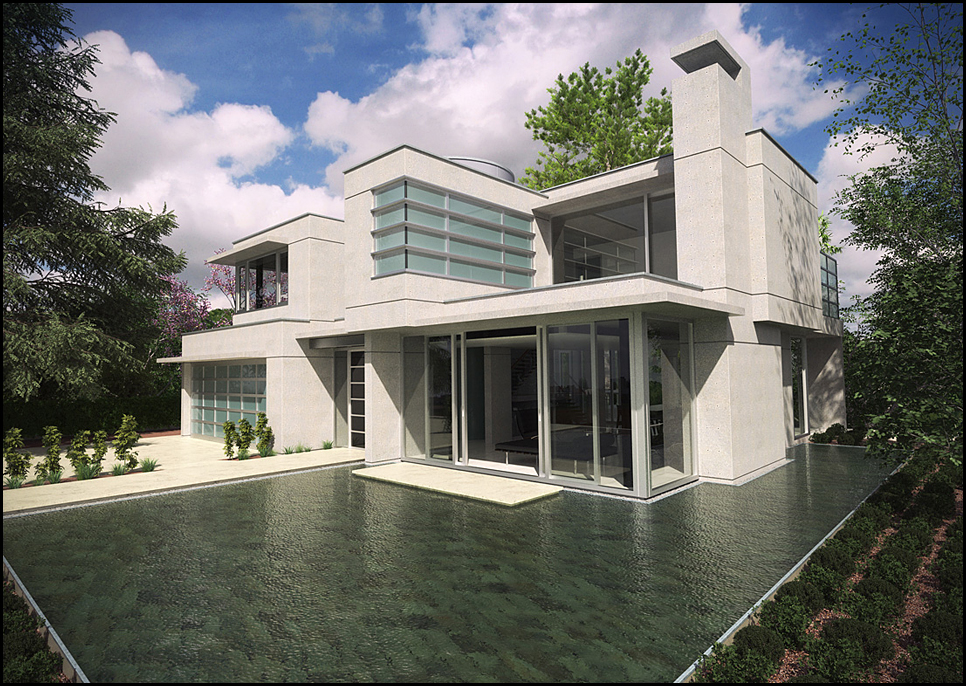
The methods featured in this tutorial were used to create the concrete materials featured in my entry for the 2011 Evermotion architectural visualisation rendering competition (right).
This tutorial presumes that you have a basic working knowledge of Photoshop and material creation in
Thea Render. If you don't have access to Photoshop, I understand that most of the image manipulation techniques used are also possible in other programmes (such as Gimp).
Download 3D Models & Textures
If you want to try out the textures created in this tutorial, I have included them in a couple of 3D models featured at the end of this tutorial.
- Part 1: Adjusting & Rearranging Texture Elements
- Part 2: Creating a Seamless Texture
- Part 3: Reflectance, Bump, Displacement Maps
- Part 4: Using Textures to Create Materials in Thea Render
Adjusting & Rearranging Texture Elements
 Begin by downloading the concrete texture used for this tutorial. The texture is available here from CG Textures.
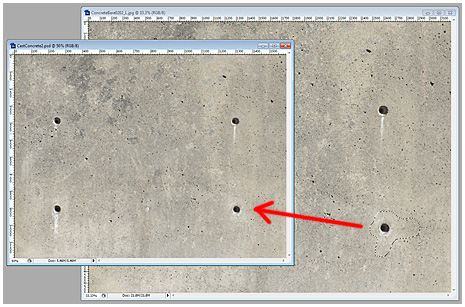
Download the largest file and open it in Photoshop. Create a duplicate, reduce in size by 50% and save as a PSD file.
Because I know that the casting holes in the image are too small for the material I want to create, the first thing I want to do is copy the higher resolution holes from the source image over the top of those in the reduced image.
Use irregular selections feathered by 3px and only use the holes without weathering damage in order to lessen the tiling effect in the final texture.
Reduce the layer opacity for the new holes, so you can line them up with the originals. Erase the edges of new holes as necessary to blend them in. Merge your image and save it.
Spacing
In this form the image won't tile well and the casting holes aren't spaced accurately, so you need to create a larger file where you can distribute the holes evenly and work towards making the image tileable.
Triple the canvas size for the file (Image>Canvas size). This may seem a bit large, but we'll crop the image again later.
Now add guides to your image, running vertically and horizontally through the casting holes.
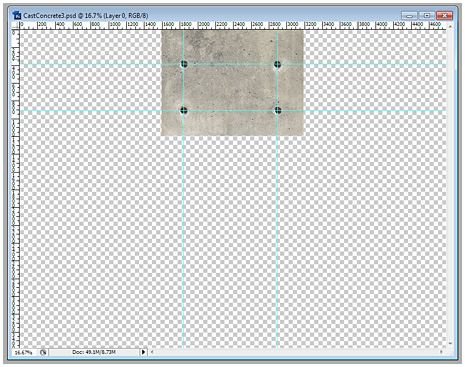
Create a new layer and with the marquee tool use the guides to create a rectangle in the centre of your starting image. Fill the selection with a solid colour.
![]()
Duplicate this layer to create two further rectangles: one that is exactly double the height and another that is exactly half the width. Simultaneously move shape 1 and the original image to the far left of the canvas, aligning the holes with the left with the edge of the shape. Then move the horizontal guides to match the new hole positions.

Use shape 2 to add another two guides to the right of your concrete image. Duplicate the concrete layer and move it to the right to line up with the new guides. Do the same thing with shape 2 and 3 to add vertical duplicates of the concrete image.
Use shape 1 & 2 to crop the right and bottom of the canvas and then use shape 2 to check the spacing at the top of the canvas (increasing canvas size as necessary).
You now you have the basic texture arrangement in place and you can either hide or delete the guides and template shapes. Create a new layer and merge the visible layers, so that you have a separate layer with all four concrete images on it.